Ah, potatoes. Surely one of nature's most versatile culinary creations. You can fry 'em, mash 'em, bake 'em, even shred 'em and hash brown them. But I've always found that one of the ways that makes them sing is to roast them, and yet my roast potatoes never measured up to what I would get in some of the finer restaurants around town.
Until now, that is. Now that I discovered tallow.
What is tallow, you ask? Well, if you're familiar with lard (and if you read this blog, surely you are) then you know that lard is merely rendered pork fat. Tallow, my friends, is simply the bovine equivalent of such--for tallow is rendered beef fat. This lipid is perhaps even more flavorful than its porcine cousin, but rare and hard to find these days, mainly because it is just as high in saturated fat so not the healthiest of choices.** But, in moderation, why not?
If you remembered how good a certain McBurger places fries used to be during your childhood (if you're as old as me, anyway) then it is because they used to fry them in tallow. But, other than rendering your own from cooking a roast or similar, tallow can be hard to come by. That's why I was overjoyed when I saw this in my Xmas stocking last year.

Yes, three jars of fat. I must have been an extra good boy. Here is the holy trinity of cooking fats, lard, tallow and, perhaps the greatest, duck fat. But to day we're focused on the tallow. We'll just be using a small amount, tossing the taters in it so that it sticks to the surface, where it will transform them into golden delicious morsels of potato goodness.
Ingredients
2 lbs Potatoes, a Mix of Red and Yukon Gold
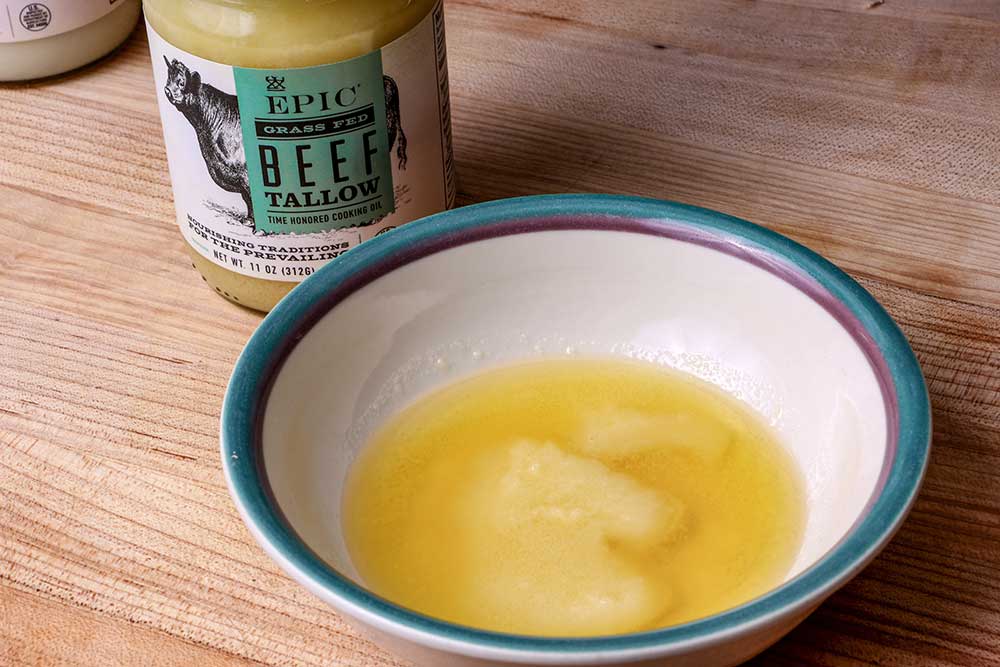
2 Tablespoons Beef Tallow, warmed to liquid consistency
2 Teaspoons Granulated Garlic
1 Teaspoon Dry Thyme
1/2 Teaspoon Salt
If you're using tallow out of a jar, it should be fine if unopened, otherwise check to make sure it doesn't have any off smells, as tallow, like any fat, can go rancid. Jars like this should be refrigerated after opening and used within a month or so.

Preheat oven to 425F
Gently heat the tallow until it is liquefied but not too hot.
Slice your potatoes into bite sized pieces.

.

Put them in a large plastic ziplock bag.

Add the seasonings and shake to evenly distribute them.

Add the melted tallow and shake to coat the potatoes.

Let the potatoes rest at room temperature for 15 minutes or so. This will allow the tallow to slightly penetrate the potato surface, which will help you get a golden brown crust on the potatoes.
Spray an oven safe dish with non-stick cooking spray and then dump your potatoes into it. Evenly distribute them.

Roast at 425F for 40 minutes or so, until potatoes are golden brown on the outside.

Let cool a couple minutes. then serve right away.
Here we've served them with some Halibut Poached in Bacon Broth and wilted spinach.

Until next time,
Chris
**Note, other fats will work for this recipe--it's the fat that is giving you your nice golden brown surface. You can achieve this with dry potatoes, but they will be overcooked inside. Some other fats to try--Duck Fat does wonderfully, and Lard ain't too shabby either. You can make a healthier option by using pure olive oil (not extra virgin, as this will smoke) but the potatoes won't be as good as with the tallow.