Sunday, March 30, 2014

Fried Caper Berries


So years ago when I was traveling a great deal for work, I had the, ahem, pleasure to spend six weeks in the, ahem, great city of Houston, Texas.  Yes, I kid Houston.  There’s not a lot of great things I can say about it—the place is crowded, hot and humid.  But, one saving grace:  Houston has a nice amount of great restaurants.  I didn’t go hungry while I was there.  In fact, I probably gained a few pounds. 

One of the dishes I discovered there (and which I’ll be telling you about here) was fried caper berries.  I wish it had a fancier name.  Put the word ‘fried’ in front of anything these days and it just sounds so passé, so State-Fair-of-Texas.  (They fry everything there)  But rebuke those visions of fried banana splits or whatever crazy fried dish they’ve come up with at this year’s fair.  This dish is fit to be served on the finest tables of Europe, or at least some of the swankier hash houses of Houston. 

This dish was actually on the bar food menu at the swank hotel as I staying at in the Woodlands, which is a swank suburb of Houston.  (Have I used the word ‘swank’ enough in the past few sentences?)  Anyway, I was having a drink at the bar (one must entertain oneself whilst on the road, right?) and the barkeep served me these amazing fried capers.  And I’m not talking the little, corn kernel-sized nonpareil variety known as capers (sans ‘berries—because these aren’t berries, but the buds of the plant), no, these were big, mature caper berries, the size of grapes, with their stems still attached to provide a convenient handle.  


The frying had awakened the natural oils in the caper berries, warming them and amping up the already delicious, tart flavor that is present in the berries.  The crisp, breaded crust wrapped everything up in a nice little package that could be grasped by the stem and popped in the mouth.  Mmmm, they were delish. 

So, I knew I had to replicate this dish at home, and replicate I did.  It turned out to be a simple affair, as you will see below.

  
Fried Caper Berries

20 or so Large Caper Berries, Stem-On
2 Eggs, Beaten
1/2 Cup All Purpose Flour
1/2 Cup Italian Breadcrumbs
2 Teaspoons Garlic Salt
  
Drain the caper berries, then set aside.  Next, beat the egg whites and yolks together until they are nicely combined.  


Set up a dredging station:  Put the flour in one bowl, then set the egg mixture next to it, then in the last bowl combine the bread crumbs and garlic salt. 


Dip each caper berry in the flour, then the egg mixture, repeat this, and then finally roll it in the bread crumbs.  


When you are finished, you should have a nice, well-coated berry with no gaps in the breading.


Reserve on the plate and repeat with the rest of the berries. 

Heat some vegetable or peanut oil to 375F...


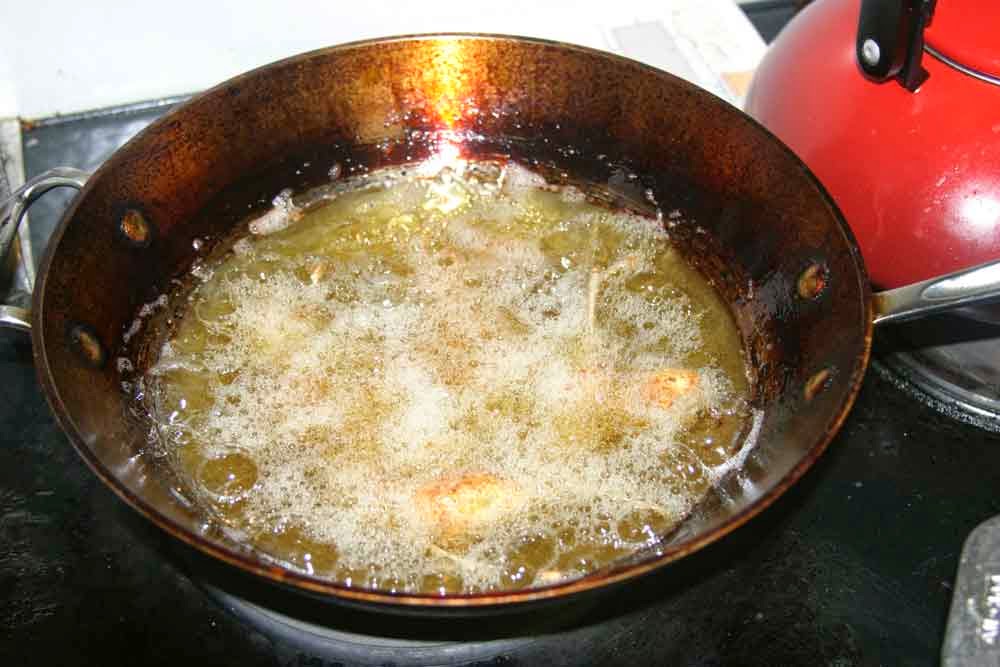
...then fry about half your berries for around three minutes or so, until they are golden brown.  Repeat with the other berries. 

Allow them to drain on a paper towel...


...and then serve immediately.  They are best when they are hot from the fryer, and their internal oils are still hot. 


Here we’ve served them with some veal picatta (topped with some of the caper berries’ smaller, nonpareil-sized cousins).  They go great with French or Italian cuisine, or just as a snack all by themselves. 

Additional note:  You can get some pitted Greek or Kalamata olives and treat them the same way;  that is, batter and fry them using this recipe.  They won’t have a little stem-handle, but they will taste out of this world.  Do this and mix some in with the caper berries for an out-of-this-world experience. 

Until Next Time,

Fry ‘em if you got ‘em,


Chris

Sunday, March 23, 2014

Cheesy Risotto Cakes


Risotto:  a dish that, in its native state, is merely a rice dish cooked in a broth until the rice has absorbed the broth’s flavor and cooked down to a creamy consistency.  Leave it to the Italians to create a dish with so much flavor from such simple ingredients. 

Making risotto can be a bit of a temperamental experience.  You’ve got to choose the right rice and you’ve got to have patience to give the rice time to absorb the broth in a slow simmering pan.  If you do this, though, you’ll end up with an amazingly flavorful dish that is great on its own.  But no, we’re not gonna stop there.  We’re gonna take things up a few more notches still, and turn our risotto into cheesy risotto cakes.  It will be a case of pure culinary decadence, I  tell you. 


Cheesy Risotto Cakes

1 Cup Arborio Rice
3 Cups Chicken Broth
3 Tablespoons Unsalted Butter
2 Shallots, Chopped
3 Cloves Garlic, Chopped
1 Cup White Wine
1/2 Cup Frozen Green Peas
1/3 Cup Lemon Juice
1 1/4 Cups Freshly Grated Parmesan
1/2 Cup Shredded Mozzarella
Salt and Pepper to Taste
1 Cup Flour
2 Eggs, Beaten
2 Cups Panko Breadcrumbs
Vegetable or Peanut Oil for Frying


Two keys to making the risotto:  Choose the right rice, and warm the broth liquid before you add it to the rice.  First, the rice.  Make sure you use Arborio rice or a similar high starch rice.  


Arborio rice is made up of nice little plump, football shaped rice grains that will absorb the broth quite nicely, all the while slowly releasing starch which will give the risotto a nice sticky consistency that will help form the cakes. 

For the Broth:  In a large saucepan add the chicken broth and allow it to warm over low to medium-low heat.  We’re gonna add it to the rice in stages, and warming it first will make sure that it doesn’t crash the cooking heat in the rice pan like it would if we added it cold. 

If you haven't already, slice and dice your shallots.


Next, in a separate pan or skillet, melt the butter and add the shallots.  


Cook for a few minutes over medium heat until they clear and give off a nice aroma.  Add the garlic and sauté for a minute or so.  Add the Arborio rice...


...and toast it for a few minutes.  Add the white wine...


...and give things a stir.  Allow the rice to continue to cook and absorb the wine.  Cook until almost all the liquid it gone.  Test this by running a spatula or similar through the rice bed and make sure you don't see much if any liquid in the trench you made.  


Next, ladle in enough chicken broth to just cover the rice.  


Stir continually until the broth is completely absorbed.  Repeat this procedure as many times as it takes to get the rice to absorb all of your broth.  When this is done, add the peas and lemon juice and and stir. 


Remove the pan from the heat and stir in the cheeses and season with pepper and salt.  


-


Spread the risotto on a sheet pan...


...and cover with plastic wrap.  Cool it in the fridge for 30-40 minutes. 

After the risotto has cooled, slice it into three inch by three inch squares, then form these squares into little one inch thick patties.  


Pour your flour, beaten eggs, and panko each into three separate bowls.  


Dredge the patties first in the flour, 


then the egg mixture, 


then finally into the panko crumbs, 


making sure each patty gets a liberal coating of crumbs. 


Heat your oil to 375 and fry the cakes, three or so at a time, for about 2-3 minutes a side, until they are a beautiful golden brown.  


Rest the finished cakes on a wire rack or a paper towel covered plate until they oil drains.  


Serve immediately.  


Here we've served one topped with a slab of smoked/braised beef shoulder, with the cake practically swimming in an au jus reduction of the braising liquid.  

Until next time, 

Be nice, have some rice.

Chris